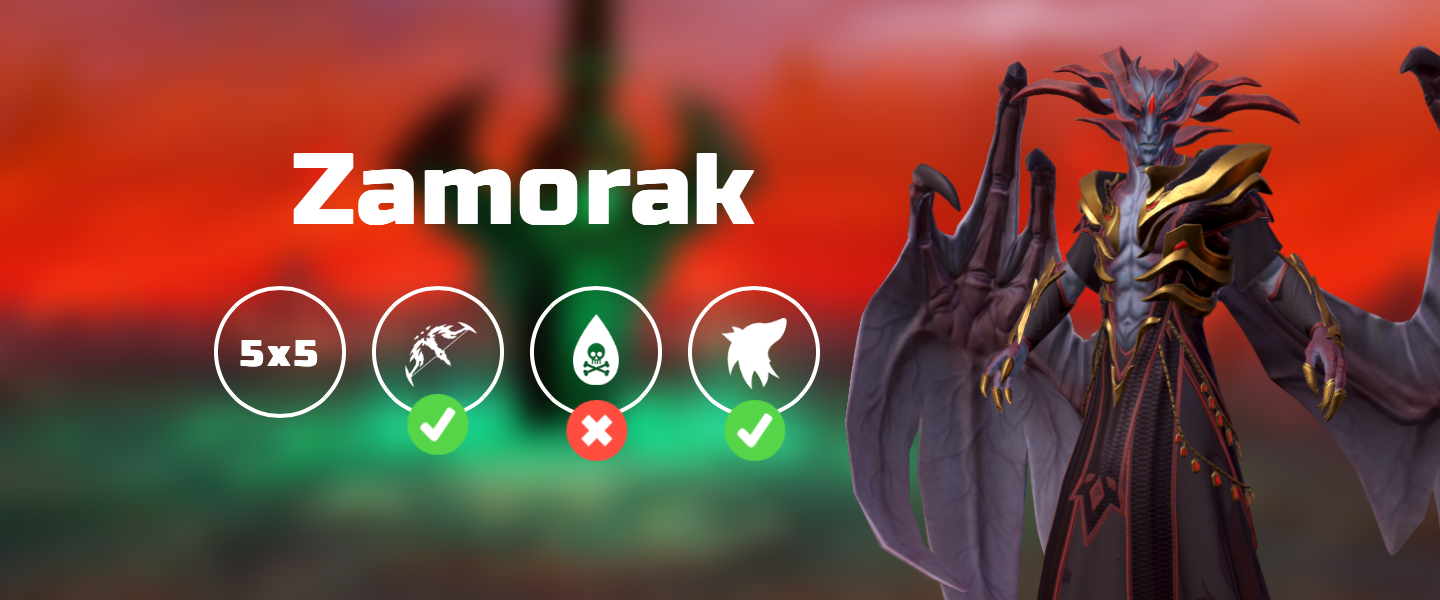
Introduction
This is an advanced guide which assumes a strong underlying knowledge of all mechanics and information presented in Zamorak Basic and Zamorak.
Presets and Relics


Rotations
⬥ This rotation can achieve sub 4 minute kills, and 9-11 kph.
⬥ Pad order used: 2 → 1 → 4 → 6 → 5 → 3
Witches
1: 
2: 

3: 

4:  →

5: →
6:
Phase 1
 →
 → →
 →

 →
 →
 +
 →
 →
 →
 → → → +

Witch
 →
 →
 + s
 →
 →
 →
 →
 +
Phase 2
 →
 → → →
 →
 → →
 →
 → +
Note: change for if enough adrenaline or  proc.
Witch
→ → → → → → +
Note: if  proc skip
Phase 3
 → → → + → → → → → → → → +
Witch
→ → + s → → → → +
Phase 4
→  → → → → → → → +
Witch
→ → → → → → +
Note: if proc skip
Phase 5
→ → → + → → → → → → →  + → → clear mine +
 → → +
Witch
→ → + s → → → → +
Phase 6
→ →  / → → → → → → (
 )
Note: if grey LP is too high.
Phase 7
Demon
 + → +

Zamorak
→ → → → +  →
Rune 1
→
Rune 2
Zamorak
→ → → /
 at 1:
at 2/3:
Example Kills
Source & licence
By PvME contributors under CC BY-NC-SA 4.0. Navigation and typography adapted. Unavailable source links and contributor names are labelled. Embedded media has separate rights.
Copied on 10 Nov 2026. Not rechecked against the current game.
Download wikitext ↓