
Introduction
This is an advanced guide and assumes a deep understanding of the boss's rotations and mechanics for the Hard Mode version of the Sanctum of Rebirth, found in Sanctum HM Mechanics Overview.
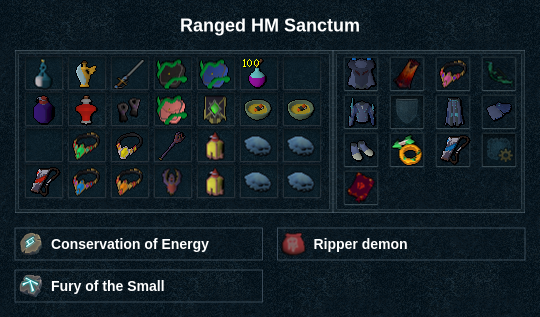
Presets and Relics
⬥ Ranged 
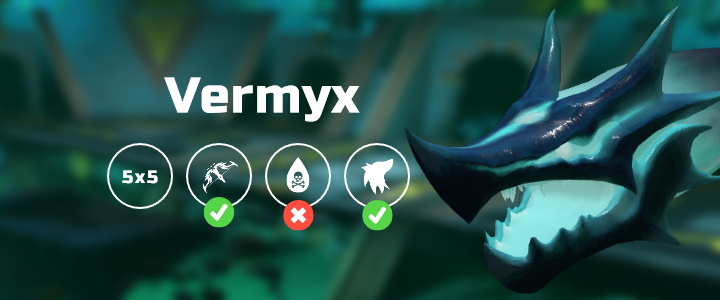
Vermyx, Brood Mother
War's Retreat
 s

Phase 1
r + → 
 +
 →

 →
 →
 →
 →
Coilspawn
Build 10 → → →  to Vermyx
Phase 2
 → improvise with /
 /
 / /
 based on stacks
Coilspawn
Build 12  + 3-7
 →
 → to Vermyx
Phase 3

 → → → → → → → → improvise
Kezalam, the Wanderer

War's Retreat
s
Pre-fight (Moonstone Obelisk 1)
r + → → →
Phase 1
s → r + → → → →
Moonstone Obelisk 1
→  → /
 → →
Phase 2
→ → → → →  → target moonstone + → target kezalam +
 +
 + → build 12 + 3 → → → → → → / if not phased
Moonstone Obelisk 2
→ → → →
Phase 3
→ → → / → improvise based on stacks
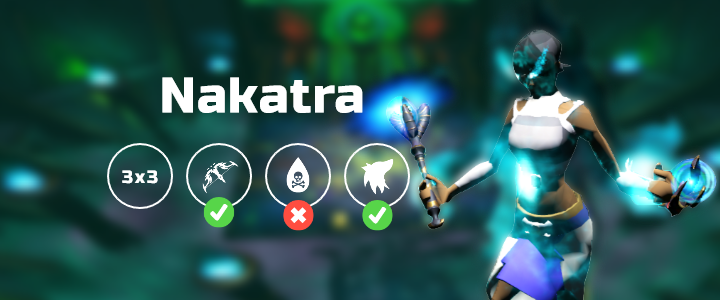
Nakatra, Devourer Eternal
⬥ Start on the east side to benefit from 
War's Retreat
s
Phase 1
r + → → → → → → → +  → → → +
 +
 →
Phase 2
→ → → → → → →  → →
 → improvise until phased → +
Phase 3
Nefthys 1
→ → (may have to improvise based on stacks)
Nefthys 2
→ → → → build adrenaline on Nakatra
Phase 4
Shadowsands
 → → → → build + while doing this, ideally end on 3-7 or may have to improvise later
Note: multiplies stack generation, be careful not to consume on
Nakatra
→ → → → → → → → → → → → /  / + Magic hits → improvise
Example Kills
⬥ Ranged
Source & licence
By PvME contributors under CC BY-NC-SA 4.0. Navigation and typography adapted. Unavailable source links and contributor names are labelled. Embedded media has separate rights.
Copied on 10 Nov 2026. Not rechecked against the current game.
Download wikitext ↓